Tahoe Sauna Company · Install Guide
Thanks for your order. This is the complete step-by-step for installing your kit. The whole job is about an hour — no contractor, no electrician. The only tool you supply is a drill.
Everything came in one box, mostly pre-assembled. This diagram is your reference for the whole install — every step below points to parts by these numbers, so keep it handy.
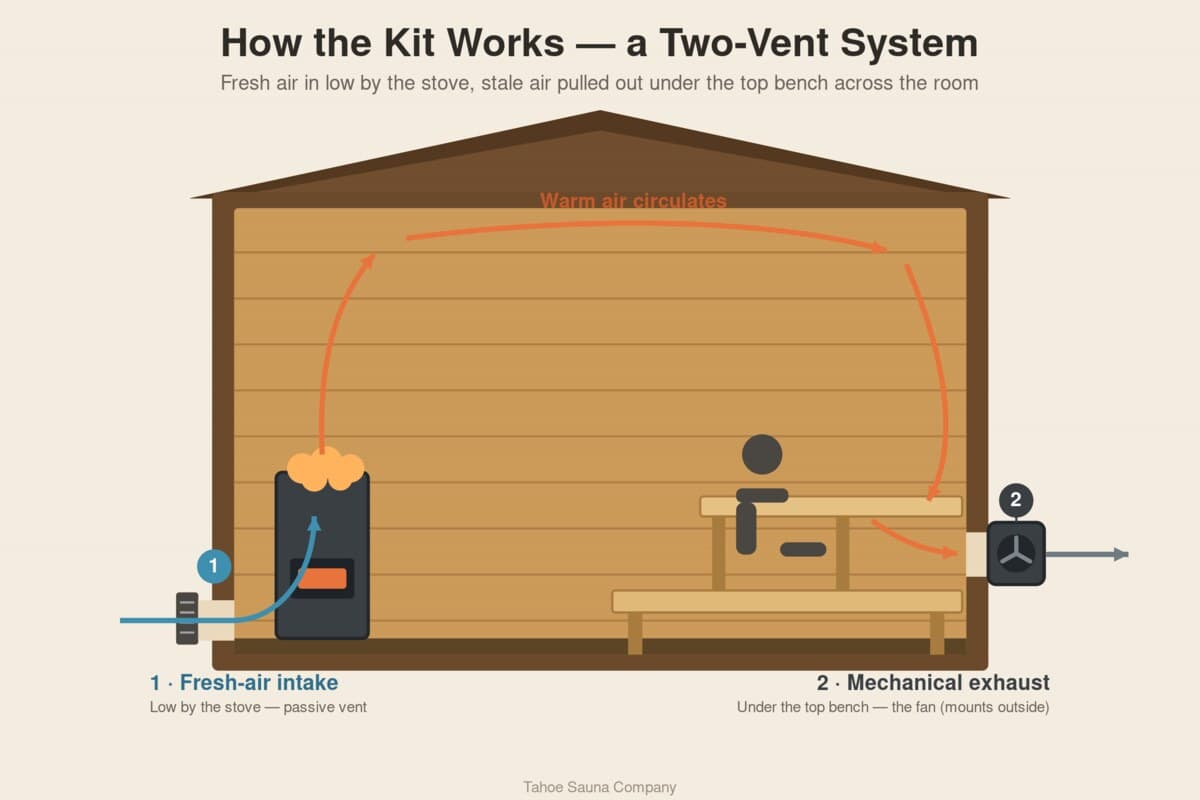
Placement matters, but it's your call. Here's what we recommend: put the fresh-air intake low, near the stove, and the mechanical exhaust on the opposite wall, under the top bench (about halfway up) — that setup pulls used air across and down over you before it leaves. That said, install both vents wherever you see fit for your room and layout.
Following the placement you've chosen (see our recommendation above), mark the center of each hole on the interior wall. Two checks before you cut: if your sauna is stick-frame construction, make sure the spot you're drilling doesn't land on a wall stud, and confirm there's clear space directly outside the exhaust hole for the fan (9) to mount.
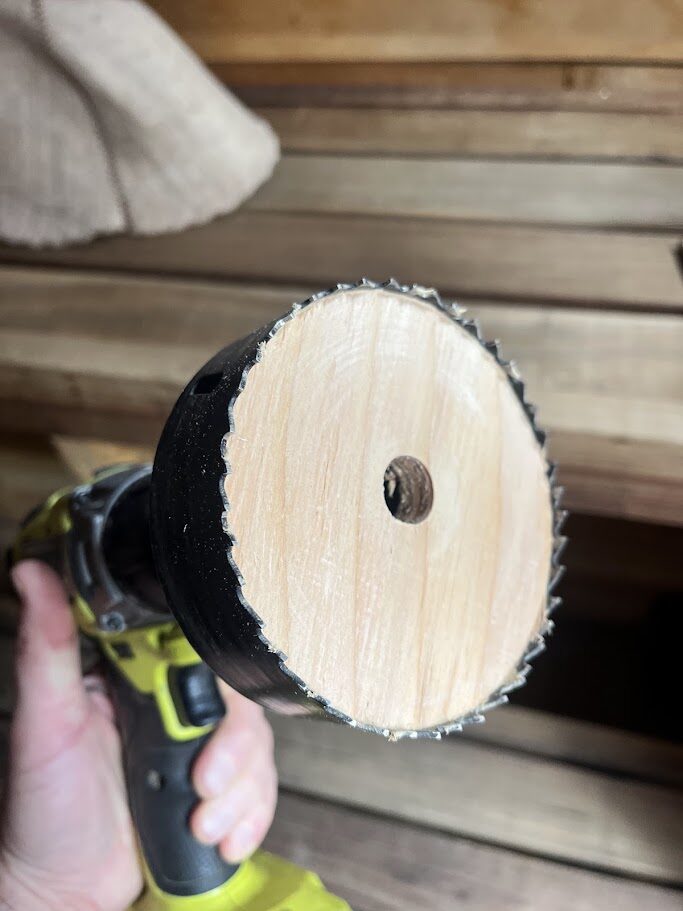
Chuck the 4" hole saw (5) into your drill. Start each cut from the inside so the interior face stays clean, then finish from the outside so you don't blow out the siding. When you're through, pop the wood core out of the saw and set it aside.

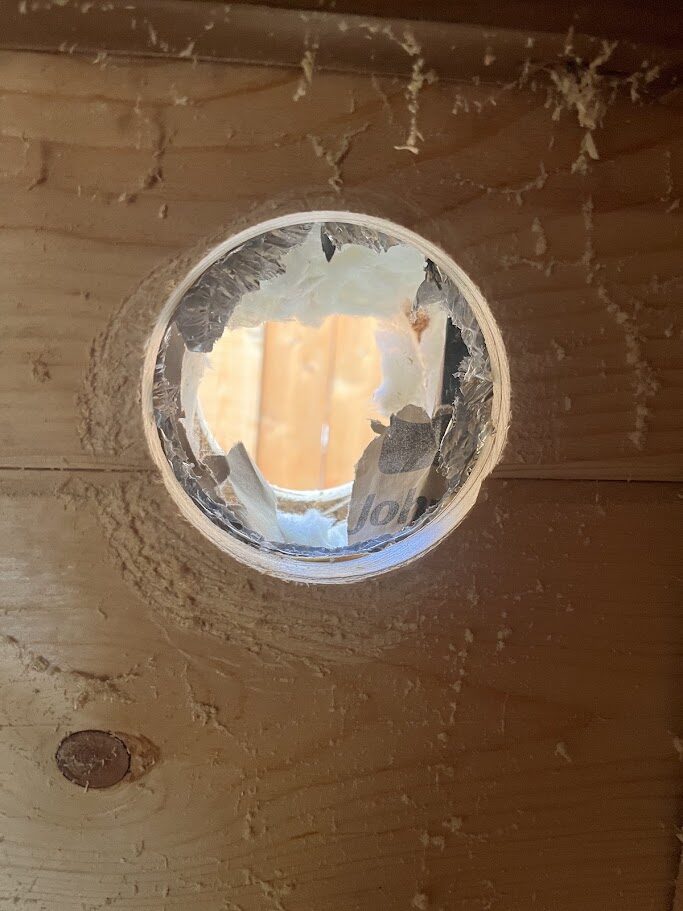
If your walls are insulated, push the insulation aside inside the hole so the duct has a clean, unobstructed path straight through the wall.

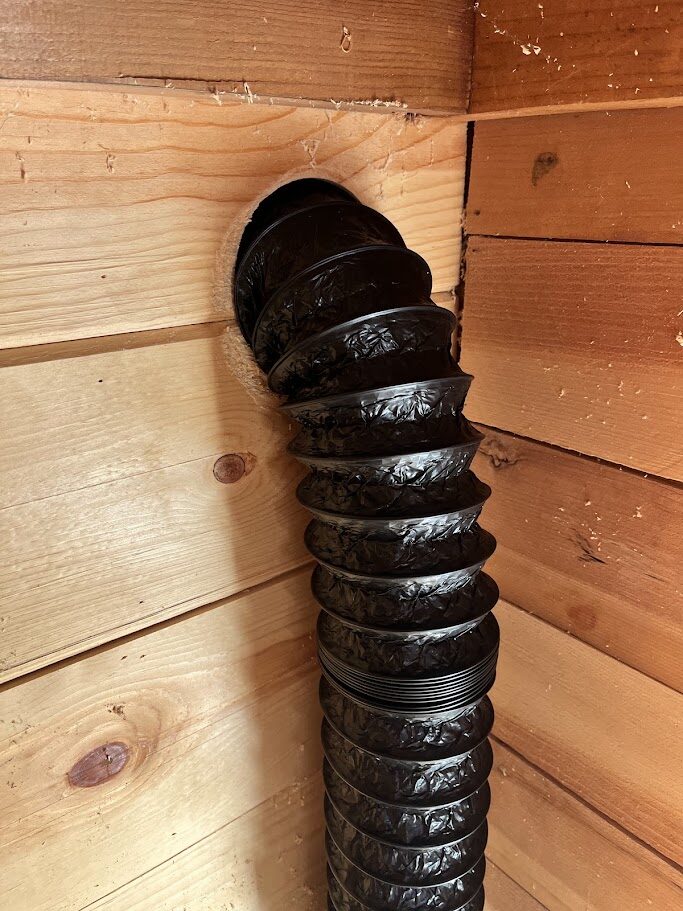
Feed the flex ducting (1) through the exhaust opening out to the fan. If the run is short, add the second flex duct (8) and join the two, sealing the seam with the aluminum tape (6).

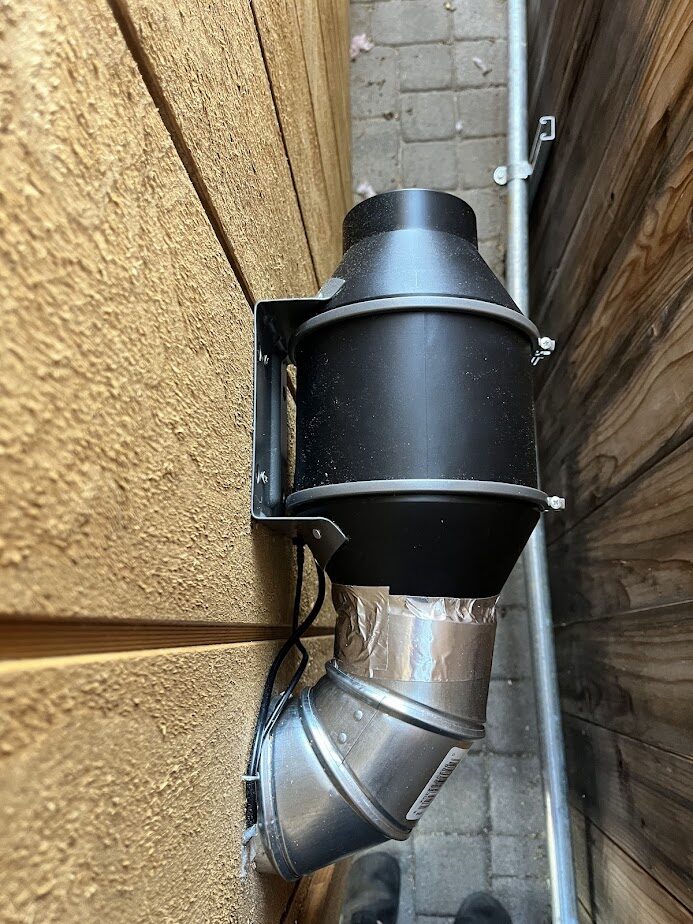
On the exterior wall, mount the fan (9) with the mounting hardware (12), and connect its pre-fitted elbow to the flex ducting (1), sealing the connection with the aluminum tape (6). Mounting outside keeps the electric fan completely clear of the sauna's heat — exactly where you want it.

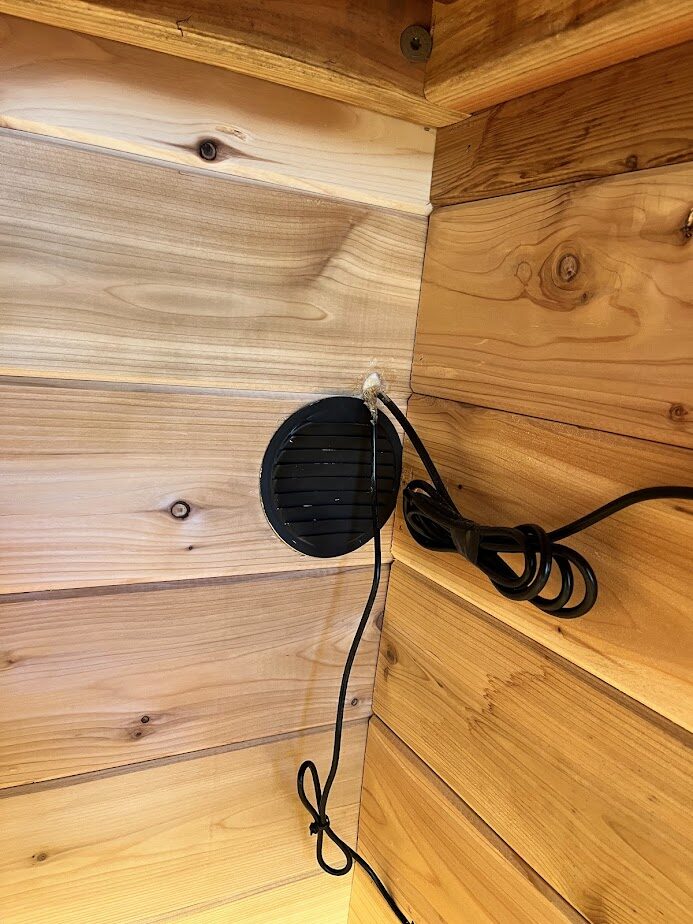
Set a louvered vent cover (3) over each opening and fasten it with the screws (2 or 7). Where the cover meets the flex ducting, secure and seal it with the aluminum tape (6). The intake vent gets a cover too — it has no fan, it's just the fresh-air inlet.

You can mount the fan speed controller (10) either inside the hot room or outside — wherever's easiest to reach. Plug the fan's lead into the controller, using the extension cable (11) to reach your chosen spot. If you want the controller inside the hot room, drill a small hole through the wall near the exhaust fan opening and run the extension cord (11) through the wall to connect it to the controller. Tidy the cable run with the velcro strap (14). The manual (13) covers the controller's settings if you want to dial in a temperature trigger.
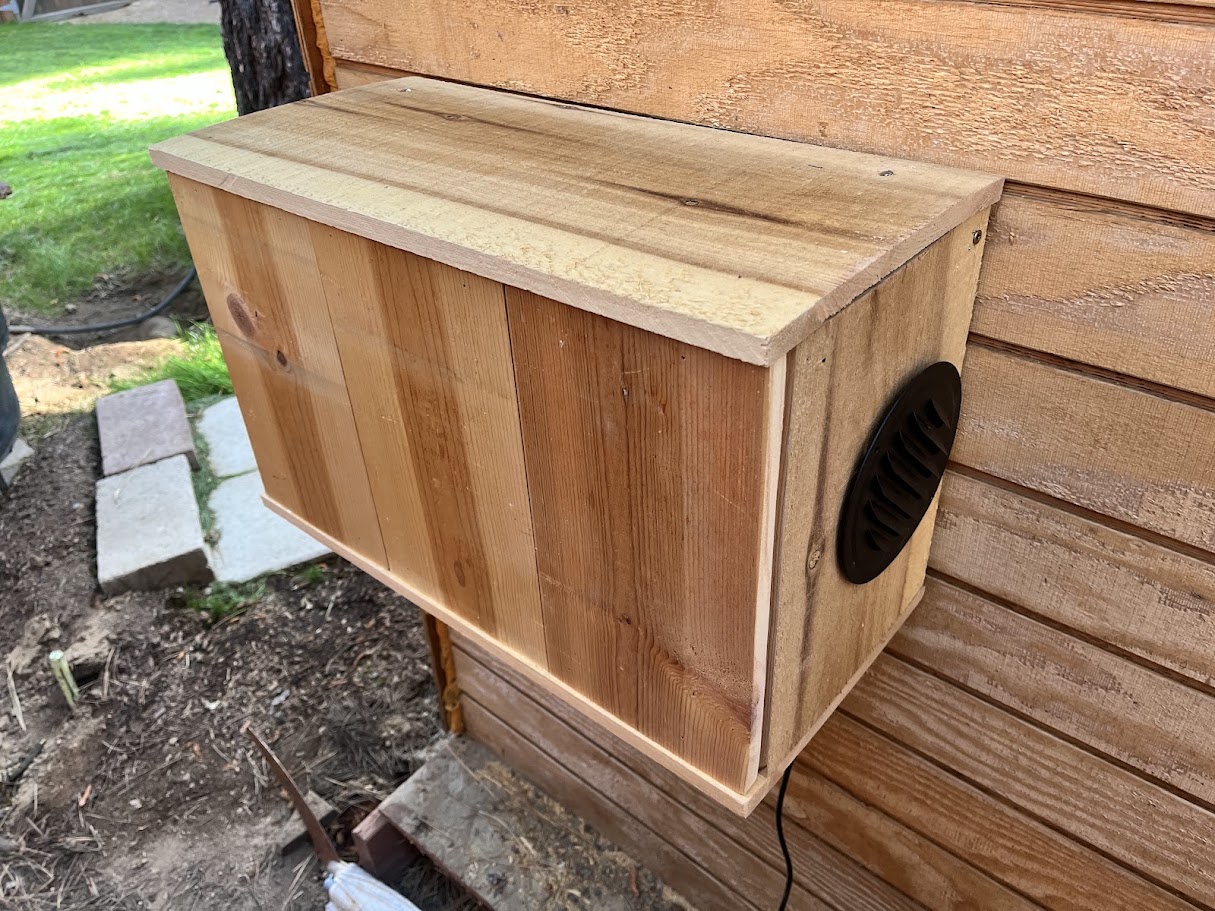
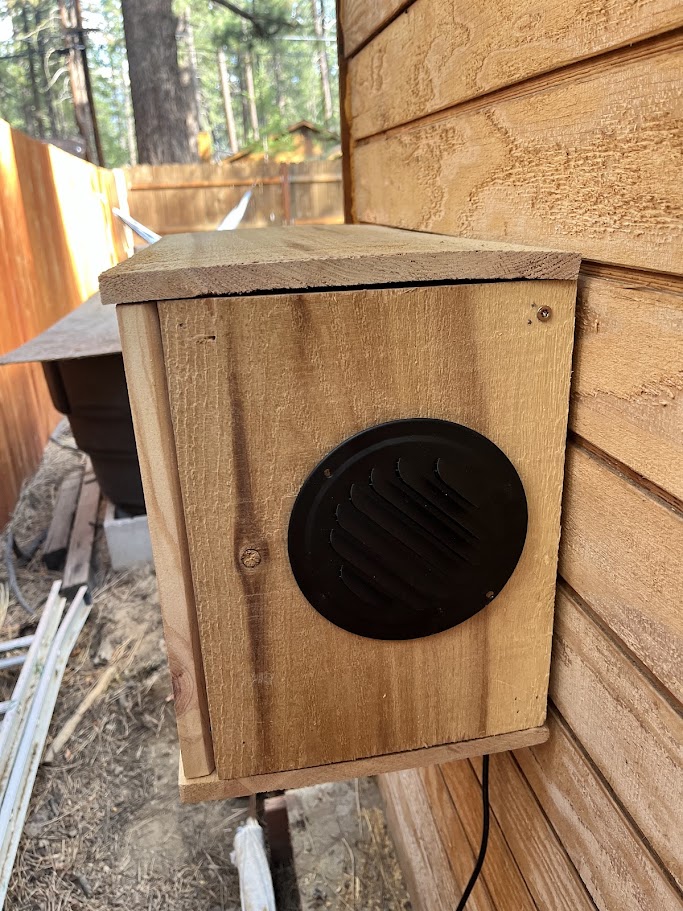
The fan (9) is electric, so out in the weather it needs protection from rain, snow, and sun. Enclose the exterior fan and ducting — the Wood Cover version of the kit is a hand-built housing that does this in one piece, or you can build your own cover.
Plug the fan into a nearby outlet or extension cord and you're running the same day, or hardwire it for a cleaner finish. Turn the controller (10) up and check that air is moving — you should feel the intake pulling fresh air in low by the stove. Run a full session and you'll notice it immediately: clearer air, a clearer head, and heat that feels even from your feet to your head.
You're talking to a sauna company, not a marketplace seller. If a step isn't clear or something doesn't fit right, email tahoesaunaco@gmail.com and we'll help you get it dialed in.
Schedule a free 15-minute intro call or send us a message about your project.
We'll learn about your space, goals, and timeline — and recommend the right next step for your project.