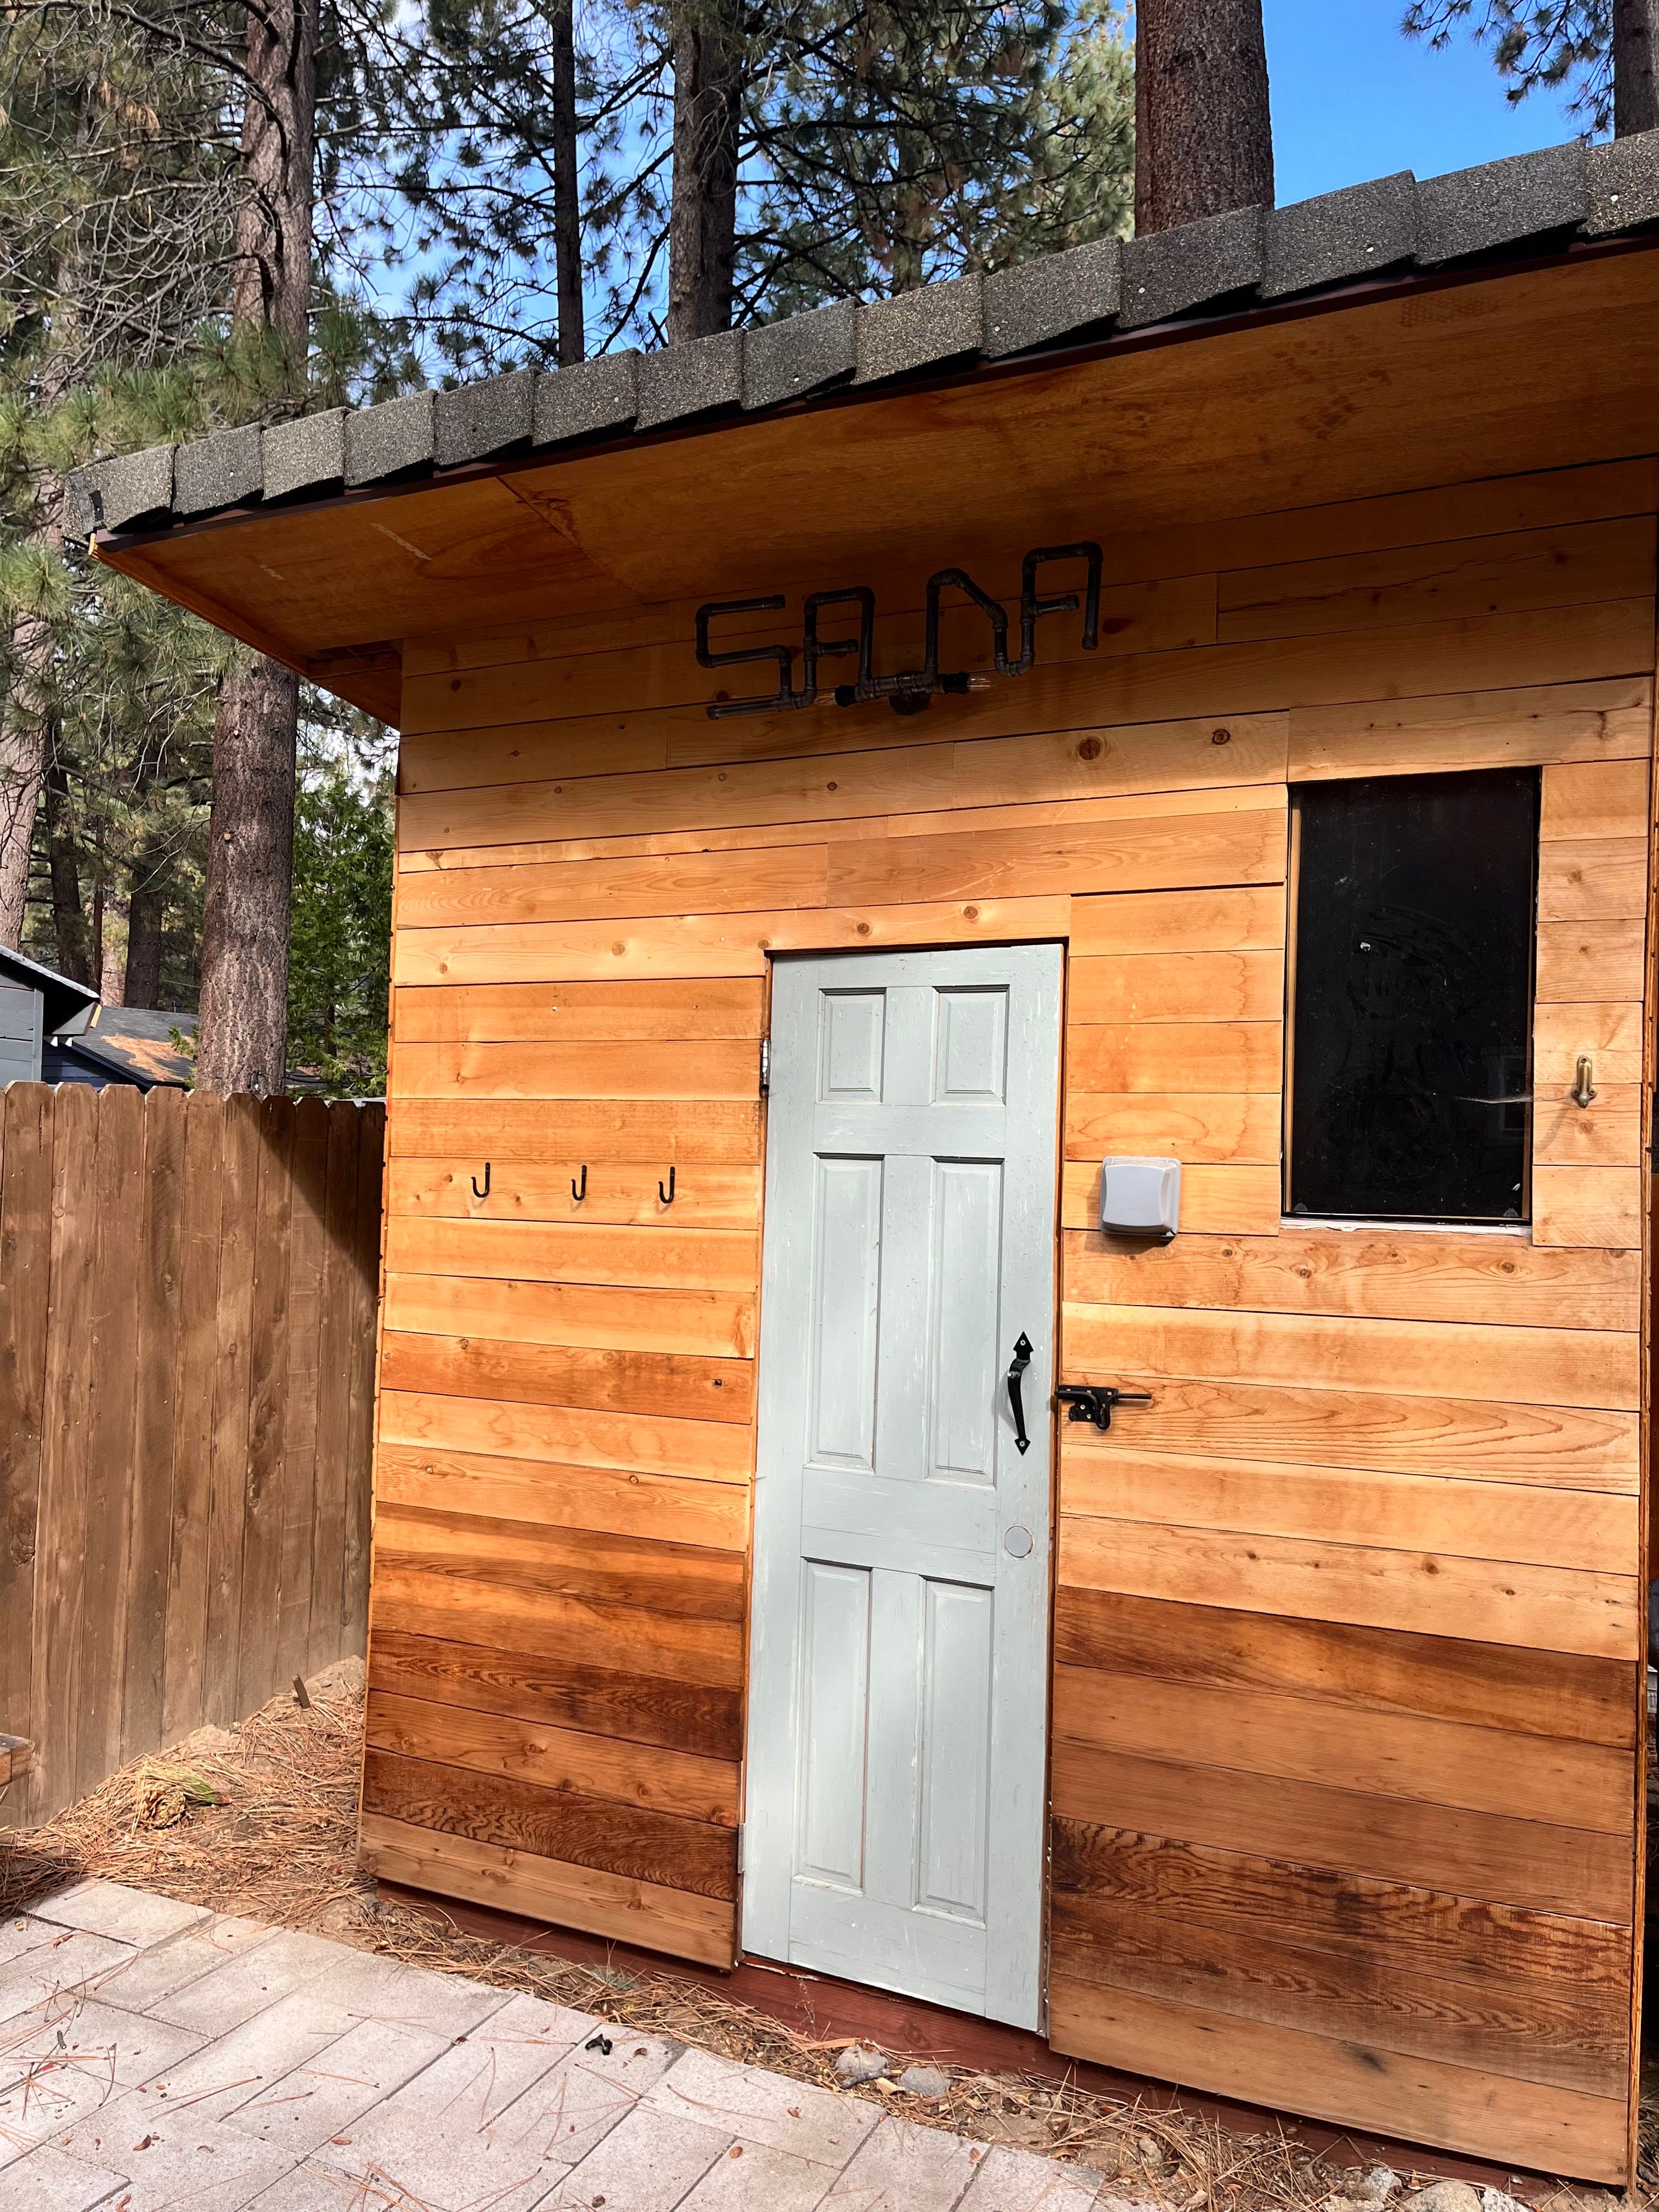
Sauna Tongue and Groove Installation: Orientation, Nailing, and the Air Gap
The cedar goes on last, so by the time you get to it you've already spent weeks on framing, insulation, and vapor barrier and you want to be done. That's exactly when people rush the paneling and end up with boards installed upside down, buckled walls, or a vapor barrier that got nailed straight through in forty places.
Sauna tongue and groove installation isn't difficult, but a handful of details separate a wall that looks good for fifteen years from one that gaps and cups after two winters. Here's the sequence we use.
Before You Touch a Board: The Vapor Barrier and Furring Strips
Paneling does not go directly on the studs, and it does not go directly on the vapor barrier. There are two layers underneath it, in this order.
Vapor barrier first. Use a non-adhesive aluminum foil-based sheeting on the warm side of the insulation — meaning the interior side, facing into the hot room. Staple it to the studs. Overlap seams by about 6 inches and seal every seam with aluminum tape. Extend it to the floor and up onto the ceiling, and seal around every penetration: light wiring, vent ducts, sensor cables, anything that pokes through.
The point of the foil barrier is to stop hot, moisture-laden air from pushing into the wall cavity, where it would condense inside the insulation and rot the framing. It only works if it's continuous. A barrier with a dozen unsealed staple holes and an unsealed vent penetration is doing maybe half its job.
Furring strips second. Install 1/4 to 1/2 inch furring strips over the vapor barrier, fastened into the studs with brad nails. The paneling then attaches to the furring strips.
Two reasons this matters:
- The air gap. Cedar in a sauna cycles from room temperature to 190°F and back, absorbing and releasing moisture the whole time. A gap behind the boards lets that moisture escape out the back instead of getting trapped between wood and foil. Panel directly against a vapor barrier and moisture has nowhere to go.
- Fewer punctures. Fastening into furring strips means your paneling nails land in the strip, not through the foil. Every nail through the barrier is a small hole you didn't need.
Run furring strips vertically if you're installing horizontal paneling, which is what we recommend. That gives you a fastening surface every 16 inches on center.
Tongue Up, Groove Down — Get This Right
This is the single most common error in sauna tongue and groove installation, and it's one we found in our own plan documents and corrected.
Install horizontal T&G with the tongue facing UP and the groove facing DOWN.
Start at the bottom of the wall with the tongue pointing at the ceiling. The next board's groove slides down over that tongue. Work upward.
Two reasons:
Water sheds instead of pooling. In a sauna, water runs down the walls — löyly condensing, sweat, humidity. If the groove faces up, every joint on the wall is a small open channel collecting water. With the groove facing down and capping over the tongue below it, water runs across the face of the joint and keeps going.
You can blind-nail. With the tongue exposed and facing up, you drive a fastener at an angle through the base of the tongue into the furring strip. The next board's groove covers the fastener completely. No visible nail heads anywhere on the wall, and no metal exposed to a 190°F room where somebody might lean against it.
If you flip it — tongue down, groove up — you either face-nail through the front of every board or you have nothing to fasten to. Neither is what you want.
The same rule applies to shiplap. Male edge down, female edge up, so the overlap sheds water. Our sauna materials specifications page covers the profiles and thicknesses we spec.
Trusted by homeowners across Tahoe and beyond
Ceiling First, Then Walls
Panel the ceiling before the walls. Two reasons: the wall boards then cover the cut edge where the ceiling meets the wall, and you're not trying to hold a board overhead while balancing on a bench you've already installed.
The interior ceiling should be flat, regardless of what the roof above it is doing. Frame ceiling joists below the roof slope and leave an attic space above. A sloped interior ceiling disrupts the convective loop and makes steam distribution uneven — some spots get löyly and some don't. Every properly built Finnish sauna has a flat interior ceiling.
Ceiling paneling gets the same treatment as walls: vapor barrier, furring strips, then boards. Run ceiling boards in whichever direction gives you the fewest joints.
Fastening
Use stainless steel or hot-dipped galvanized fasteners. Standard steel brads will rust in a sauna and bleed dark streaks down your cedar within a season or two.
For blind nailing through the tongue, an 18-gauge brad nailer with 1-1/4 to 1-1/2 inch brads works well. Drive at roughly a 45-degree angle through the base of the tongue into the furring strip. Set the nailer depth so brads sit flush or slightly below — a proud brad head will keep the next board from seating.
Fasten at every furring strip, so every 16 inches.
Do not glue the boards. Cedar needs to move. Adhesive is how you get cupping and split boards.
Leave the Gaps
Wood expands and contracts with every heat cycle. If you install everything tight and hard against the framing, the wall will push against itself and buckle.
- Bottom of the wall: leave 1/4 to 1/2 inch of gap above the finished floor. Cover it with a small base trim that is fastened to the wall only, not to the floor, so the wall can move behind it.
- Top of the wall: leave a small gap where wall meets ceiling and cover with trim.
- Corners: don't butt boards tight into a corner. Leave a hair of space and cover with a corner trim piece.
- Around windows and doors: rough openings should be about 1/4 inch larger than the actual unit. Trim covers the difference.
The cumulative movement across a full wall of cedar is real. On an 8-foot wall you can see 1/8 to 1/4 inch of seasonal change.
Where the Paneling Meets the Heater, Vents, and Benches
Heater wall. Cut and fit the paneling normally, then confirm your heater's required clearances to combustible material — typically 3 inches from a wall for a Harvia KIP-class unit, but always check the specific model's manual. Clearances are measured from the heater to the finished wood surface, not to the stud. If a heater guard is required, mount it into blocking, not into the paneling.
Vents. Cut vent holes after the paneling is up, using a hole saw sized to your grille. Seal the vapor barrier around the penetration with aluminum tape before the grille goes on. Standard supply and exhaust vents run 3 to 4 inches.
Sensor location. If you're running a Harvia Xenio or similar control, the temperature sensor has to be at least 1000mm — about 3 feet 3 inches — from any air vent. Airflow across the sensor makes it read cool, which causes the heater to overshoot or fail to cycle properly. Plan vent locations and sensor location together before you cut any holes.
Benches. Bench supports must fasten into studs with 3-4 inch screws, not into the paneling. Locate and mark your studs before the cedar goes up, or install solid blocking at bench-cleat height during framing. Cedar boards will not hold six adults.
More on positioning in our sauna bench height guide.
Wood Selection and Acclimation
Interior species, in order of how often we use them:
- Western red cedar — the standard. Naturally moisture and decay resistant, stable, and it smells like a sauna should. $4-8 per square foot for 1x4 or 1x6 T&G.
- Hemlock — light color, smooth, no resin, good value at $3-6 per square foot.
- Aspen — light, soft, minimal resin, the mildest scent. $2.50-5 per square foot.
- Spruce — budget option.
Never use pine or anything with visible pitch. Resin pockets weep at sauna temperatures and the result is sticky, hot sap on a bench somebody's sitting on.
Buy kiln-dried stock at 8-12% moisture content and inspect for knots and checks. Then let it sit in or near the space for a few days before installation. Boards installed at a much higher moisture content than they'll live at will shrink after installation and open gaps at every joint.
One real cost-saver: interior paneling is one of the largest line items in a custom build — $1,000 to $3,000 on a small-to-mid sauna. Cedar fence pickets from any hardware store cost a fraction of purpose-made sauna panels. They come in 6-foot lengths at 5/8 to 3/4 inch thick, which is fine for sauna use. Run each board's edges against a stacked dado blade on a table saw to create a double-sided shiplap edge, so boards can't separate and expose the vapor barrier. It takes time, and the result is a bit more rustic with some chance of minor warping, but we've done it on multiple builds and it holds up.
Finishing — Which Is To Say, Don't
Do not stain, seal, varnish, or oil the interior paneling. Anything you put on the wood will offgas at 190°F, and you'll be breathing it. Cedar and hemlock are naturally resistant and don't need a finish.
Benches are the one place a food-grade paraffin oil is sometimes used, and even that's optional. Everything else stays bare.
For cleaning, plain water and a soft brush handles almost everything. Our sauna cleaning routine covers the rest.
Common Mistakes
- Groove facing up. Covered above. Collects water, forces face-nailing.
- Skipping furring strips. Traps moisture between board and foil and puts every fastener through the vapor barrier.
- Steel fasteners. Rust streaks within a season.
- Tight installation with no expansion gaps. Buckled walls after the first hard heat cycle.
- Gluing boards. Cupping and splitting.
- Sealing the wood. Offgassing at temperature.
- Bench cleats into paneling instead of studs. A failure that happens with people sitting on it.
- Cutting vent holes without re-sealing the vapor barrier. A direct path for moist air into the wall cavity.
Frequently Asked Questions
Should tongue and groove face up or down in a sauna? Tongue up, groove down, working from the bottom of the wall upward. The groove of each board caps over the tongue of the board below, so water sheds across the joint instead of pooling in it, and you can blind-nail through the exposed tongue so no fasteners show.
Do I need furring strips behind sauna paneling? Yes. Install 1/4 to 1/2 inch furring strips over the vapor barrier and fasten paneling to those. The air gap lets moisture escape from behind the boards, and fastening into strips keeps nails out of the foil barrier.
Can you install sauna paneling vertically? You can, but we recommend horizontal. Horizontal boards let you blind-nail through an upward-facing tongue and shed water across each joint. Vertical installation means water runs down the length of every groove, and you need horizontal furring strips instead.
What nails should I use for sauna cedar? Stainless steel or hot-dipped galvanized only, 18-gauge brads at 1-1/4 to 1-1/2 inches for blind nailing. Standard steel fasteners rust in sauna humidity and bleed dark streaks down the wood.
How much gap should I leave at the floor? 1/4 to 1/2 inch between the bottom board and the finished floor, covered by a base trim fastened to the wall only. Cedar moves noticeably with heat cycling and needs somewhere to go.
Next Steps
Paneling is the last step where a mistake is easy to fix — once the benches and heater are in, pulling a wall apart is a real project. Worth slowing down for a day.
If you want a plan set that specs the wall assembly, furring layout, and vent locations before you start cutting, we do remote sauna design for clients anywhere in the country. The sauna insulation guide covers everything that goes in behind the cedar, and the sauna design checklist is a free walkthrough of the decisions to make before you buy materials.