Ventilation is one of the most overlooked aspects of sauna design—and the number one problem plaguing North American saunas. Poor ventilation creates problems that get worse over time: mold, wood rot, stale air, dangerously high CO₂ levels, cold feet, and compromised löyly quality. The good news? Most ventilation problems are preventable with proper design choices informed by sauna research.
A sauna is a high-moisture, high-temperature environment. When ventilation fails, multiple problems compound:
Proper ventilation solves all of this: healthy CO₂ levels (<700 ppm), comfortable heat distribution, quality löyly, and structural durability.
This is the #1 North American ventilation mistake. Fresh air enters low, near the floor or heater. Cold air sinks and flows across the floor, exiting through an upper vent without ever reaching bathers at bench level.
Result: Occupants breathe CO₂-rich, stale air. CO₂ levels reach 1,200+ ppm (dangerous). Feet stay cold because fresh air never reaches the foot bench. Steam quality suffers.
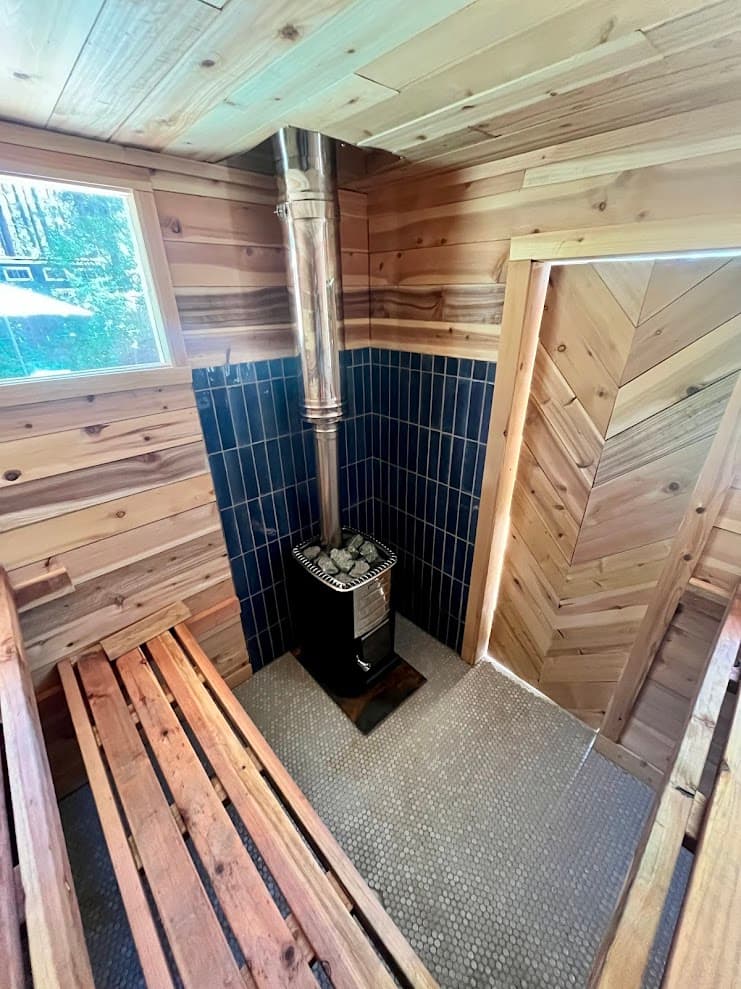
The correct fix: Fresh air enters ABOVE the heater (6 inches below ceiling) and gets entrained in the rising convective loop, distributing heat and fresh air evenly. Exhaust (mechanical, powered fan) is located below the foot bench on the opposite wall.
Trusted by homeowners across Tahoe and beyond
Natural (passive) ventilation relies on temperature differences to drive airflow. In theory, hot air rises and exits through a high vent. In practice, this is unreliable in electric saunas—the heater is not hot enough to create strong, consistent convection like a wood fire does.
Result: CO₂ levels remain elevated (800–1,200 ppm). Occupants feel uncomfortable after 15–20 minutes. Foot bench may not reach hygiene temperatures.
The fix: Install mechanical downdraft ventilation. A small inline fan (30–150 CFM) with fresh air above the heater and exhaust below the foot bench creates reliable, consistent air exchange. Cost: $200–400. Electricity: ~$10–20/year. Worth it for health.
Some sauna kits and DIY builders skip ventilation entirely, thinking a sealed sauna is better. This is a genuine health hazard.
The fix: Install ventilation. At minimum: fresh air inlet above heater + mechanical exhaust below foot bench. Cost is negligible compared to fixing a moldy, rotted sauna later. Use an Aranet4 air quality monitor to measure CO₂ levels during sessions — if readings climb above 700 ppm, your ventilation needs adjustment.
Undersized vents restrict airflow. A 1-inch or 2-inch vent cannot move sufficient air for a 6×8 sauna.
Sizing rule for mechanical systems: 20–25 CFM per occupant + 15–25 CFM for heater sensor. Example: 4-person sauna = ~110 CFM. A 4-6 inch inline fan with proper ductwork achieves this.
Sizing rule for passive systems: 1 square inch of vent area per 2–3 cubic feet of sauna volume. For a 384 cubic-foot sauna, you need 128–192 square inches (rough equivalent to two 4-inch ducts).
The fix: Size vents appropriately. Use 3–4 inch ducts for mechanical, or multiple 3-inch passive vents.
Never vent exhaust air into an attic, crawl space, or enclosed wall cavity. The hot, humid air will condense, damage insulation, and promote mold in structural cavities.
The fix: Vent exhaust air directly outside (through wall or roof). Install ductwork from exhaust to exterior with damper to prevent backflow. For indoor saunas (basement/garage), route exhaust outside the home.
A common mistake is placing the exhaust vent in the ceiling or high on the wall. This exhausts warm, quality steam before it reaches bathers at bench level. Result: poor löyly, wasted heat, uncomfortable experience.
The fix: Exhaust outlet must be below the foot bench level (6–12 inches below). This pulls stale, CO₂-rich air at breathing height while allowing quality steam to linger in the löyly cavity.
Many designs have operating vents (intake/exhaust during session) but no dedicated drying vent. This causes moisture to get trapped after you finish, leading to mold over time.
The solution: Add a third vent (optional but valuable) purely for drying. After your session:
This "bake and breathe" cycle dries the sauna completely and prevents mold growth in wood.
Fixed vents that can't be closed create continuous heat loss. You want control: fully open for drying, slightly open during sessions, closed when not in use.
The fix: Install damper flaps, sliding covers, or butterfly dampers on vents. These let you modulate airflow without complex mechanisms.
Many sauna owners never verify their ventilation is working. They assume it's fine, then wonder why they feel uncomfortable after 20 minutes.
The fix: Use a portable CO₂ monitor (Aranet 4, ~$200) to verify ventilation effectiveness. Test after 15–20 minutes of occupancy. Target: <700 ppm (ideally <550 ppm). If readings are above 1,000 ppm, ventilation is inadequate.
CO₂ monitoring is the same tool Finnish sauna researchers use. It takes the guesswork out of ventilation design.
The proven, effective design for electric saunas uses three components:
Cost: Fan + ductwork + installation = $200–400. Electricity: ~$10–20/year.Benefit: Healthy CO₂ levels, comfortable heat, quality löyly, foot hygiene.
If your sauna smells musty or shows signs of mold, you likely have ventilation problems. The good news: most are fixable.
12 decisions that determine how well your sauna performs — insulation, bench height, heater sizing, ventilation, and more.
Have questions about your project? Send us a message or schedule a free 15-minute intro call.
Schedule a free 15-minute intro call or send us a message about your project.
We'll learn about your space, goals, and timeline — and recommend the right next step for your project.