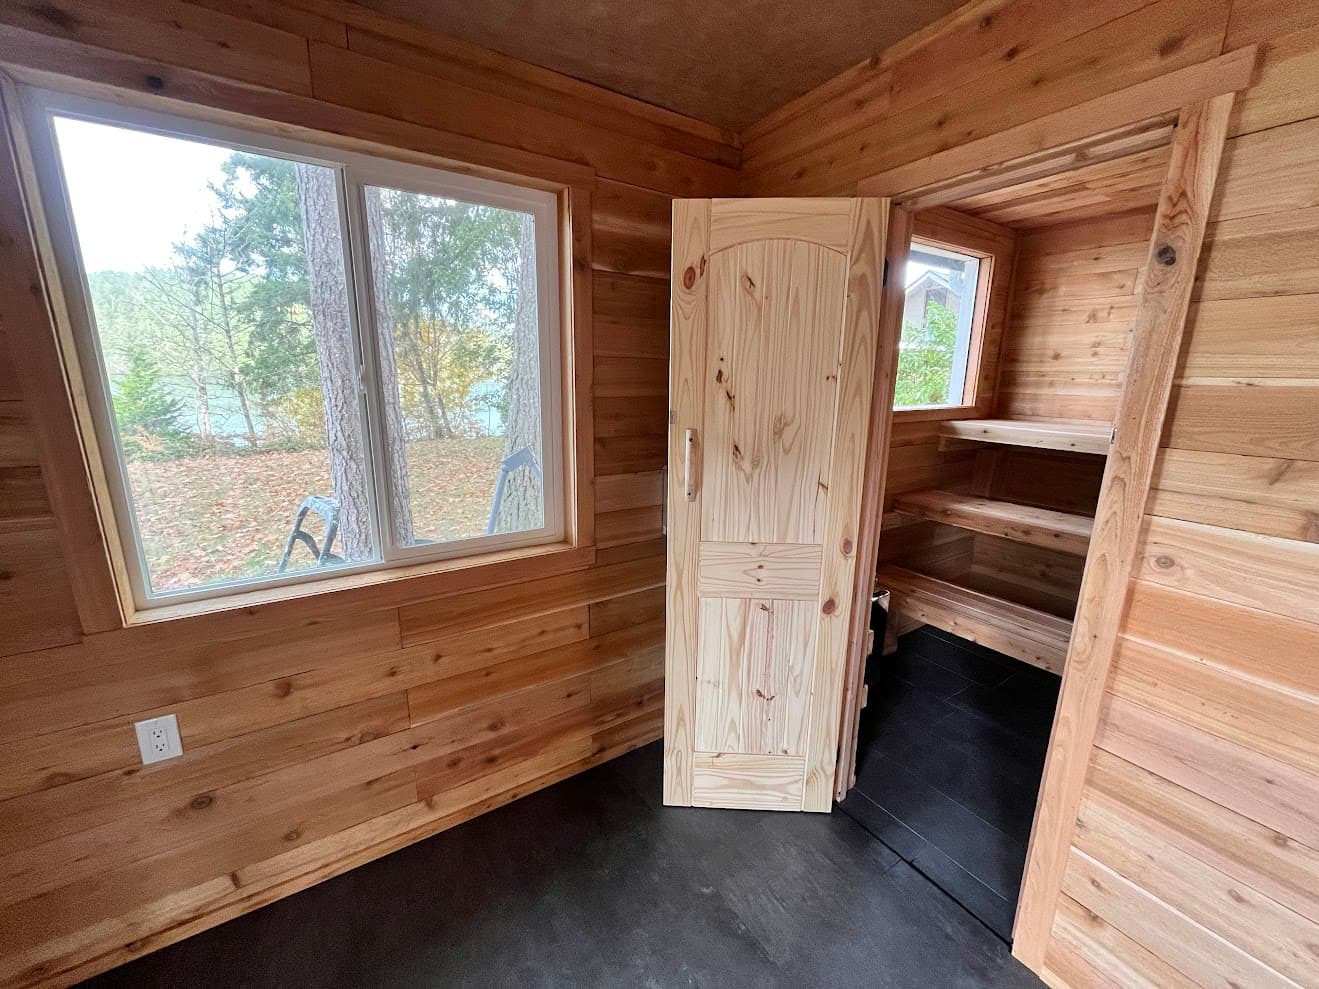
How to Frame a Sauna Room: Studs, Ceiling, and Rough Openings Done Right
Framing is the part of a sauna build that feels the most like regular construction, which is exactly why people get sloppy with it. It's just 2x4s and a nail gun, right? Mostly. But a sauna has a few framing requirements that a closet or a bedroom doesn't, and if you miss them, you find out later when the heat won't distribute right or the door won't seal. Framing a sauna room correctly isn't hard — it just requires knowing which details actually matter before you start cutting.
This is a walkthrough of how to frame a sauna room, whether you're building an outdoor shed-style structure from the ground up or framing a sauna inside a garage, basement, or spare room. The bones are the same. The decisions that make it a good sauna instead of a hot box happen at the framing stage, so this is worth getting right.
Before You Frame: Confirm Your Ceiling Height
The single most important number to lock in before you frame anything is interior ceiling height, because it drives everything about how the sauna performs.
You want a finished interior ceiling of 7.5 to 8 feet. That height lets you raise the benches enough to get bathers' feet up into the hot zone above the heater stones, which is what creates an even head-to-toe heat experience. Too low, and you get the classic complaint: hot head, cold feet. For existing structures you're converting, 7 feet is the practical minimum, and you'll want to confirm the space can actually accommodate a 7.5-to-8-foot sauna ceiling before you commit. We get into why this matters so much in our guide to sauna ceiling height, but the framing takeaway is simple: know your finished ceiling height before you frame, because you're building the whole room around it.
One consequence to plan for on outdoor builds: a 7.5-to-8-foot interior ceiling plus a pitched roof to shed snow and rain puts your exterior peak at 10 feet or more. That surprises people. If a tall structure is a problem for your yard or your views, dropping to a 7-to-7.5-foot interior ceiling brings the exterior peak down to 8 to 9 feet, with only a minor hit to the thermal experience. Decide that now, not after the walls are up.
Framing the Walls
Wall framing for a sauna follows standard practice, with a couple of sauna-specific notes.
Studs: Use 2x4 studs at 16 inches on center. That spacing gives you solid backing for bench cleats and heater mounting, and standard cavity widths for insulation. Run a double top plate — it ties the walls together and carries the ceiling and roof load.
Sheathing: On an outdoor build, sheath the exterior with plywood or OSB over the framing, then your moisture barrier and siding go on top of that. For an interior conversion, you're framing against or inside existing walls, so the sheathing question is usually already answered.
Backing where you need it: Think ahead about where your benches, heater, and any wall-mounted fixtures land, and make sure there's a stud or blocking there. Bench cleats have to screw into framing, not just into the interior paneling — a bench full of people is a real load. It's much easier to add a piece of blocking now than to fish for something solid later.
If you're converting an existing space rather than building fresh, the framing is where you also plan for insulation depth and the vapor barrier that follows. Those aren't framing steps exactly, but they ride on the framing, so it's worth reading through the insulation and vapor barrier approach before you close anything in.
Trusted by homeowners across Tahoe and beyond
The Flat Ceiling Rule
This is the framing detail people most often get wrong, and it's the one that quietly ruins a sauna: always frame a flat interior ceiling, regardless of the roof pitch above it.
It's tempting to follow the roofline and create a vaulted or sloped interior ceiling — it looks nice, and it feels like you're gaining headroom. Don't. A sloped interior ceiling disrupts the convective loop that distributes heat evenly through the room. Steam and heat pool unevenly, some seats get more löyly than others, and you lose the ability to measure and tune stratification properly. Finnish sauna builders have framed flat ceilings for a reason.
The way to do it: frame flat ceiling joists below the roof slope. That creates a flat sauna ceiling with an attic or ventilation cavity above it, between the ceiling and the roof deck. The roof outside can be whatever pitch you want to shed snow — the interior stays flat. This also gives you a clean space above the ceiling to run and insulate, and it makes locating your intake and exhaust vents much easier.
If you're framing inside a garage or basement, the same rule applies — build a flat, dropped ceiling for the sauna at your target height rather than sauna-ing all the way up to the existing structure.
Rough Openings for the Door and Windows
Frame your door and window openings as you go, and size the rough openings correctly.
Rough openings should be about 1/4 inch larger than the actual door or window unit on all sides. That gives you room to shim the unit plumb and level and to seal around it. Too tight and you can't adjust; too loose and you've got a gap to fill.
Door: Frame for a door that opens outward — that's a safety requirement, non-negotiable — and lean toward a smaller door than you think you want. A 24-inch-wide door loses far less heat every time it opens than a standard 32-to-36-inch door, and in a sauna the door opens constantly as people come and go. Frame the opening for the door you're actually installing, and remember the finished sauna door is typically 24 x 76 to 24 x 80 inches.
Windows: Frame window openings high on the wall and away from the heater location. Two modest windows, around 16 x 30 inches, is a common setup. Keep them out of the wall section where the heater will sit. Get the rough openings square and plumb now — a window that's framed out of square is a sealing headache later.
Framing for an Indoor or Garage Conversion
A lot of saunas get framed inside an existing structure — a garage bay, a basement corner, a bonus room. The framing logic is the same, with a few adjustments.
You're typically framing a room-within-a-room: new stud walls that define the sauna, tied into the existing floor, walls, or ceiling. Confirm the existing ceiling gives you enough height for a 7.5-to-8-foot sauna ceiling with your dropped flat ceiling below it. Frame your new walls at 16 inches on center just like an outdoor build, plan your backing for benches and heater, and frame the flat ceiling below the existing joists.
The big difference indoors is that you're managing moisture inside a shared structure, so the vapor barrier and ventilation planning that follow framing carry even more weight — you don't want sauna moisture migrating into the rest of the building. But the framing itself is standard: square walls, double top plate, flat ceiling, correct rough openings.
Where Framing Fits in the Build
Framing comes early, and a lot of later steps depend on getting it right. In sequence, framing follows the foundation and precedes roofing, electrical rough-in, insulation, vapor barrier, and interior paneling. Because so much rides on it, the framing stage is where you want your dimensions and your plan fully sorted — this is the point where a good design plan pays for itself. If you're framing off a vague sketch, you'll be improvising decisions that should've been made on paper.
Get the foundation square first — diagonal measurements should match — because framing square walls on an out-of-square base just moves the problem up. Our notes on the outdoor sauna foundation cover that starting point.
Frequently Asked Questions
What stud spacing should I use to frame a sauna?
Standard 2x4 studs at 16 inches on center, with a double top plate. That spacing gives you proper backing for bench cleats and the heater, standard insulation cavities, and a structure that carries the ceiling and roof load. There's no reason to deviate from normal framing spacing for a sauna.
Should a sauna ceiling be flat or follow the roofline?
Always flat. A flat interior ceiling keeps the convective heat loop even and delivers consistent steam and temperature throughout the room. A sloped or vaulted interior ceiling disrupts heat distribution and makes for a worse sauna. Frame flat ceiling joists below the roof slope, leaving an attic cavity between the ceiling and the roof.
How big should the rough openings be for a sauna door and windows?
Frame rough openings about 1/4 inch larger than the actual door or window unit on all sides, so you have room to shim and seal. Frame the door to open outward for safety, and favor a smaller 24-inch-wide door to reduce heat loss. Place window openings high on the wall and away from the heater.
Can I frame a sauna inside my garage or basement?
Yes — framing a sauna inside an existing structure is common and follows the same rules. Build new 2x4 stud walls at 16 inches on center, frame a flat dropped ceiling at 7.5 to 8 feet, and confirm the existing space has the height to accommodate it. The main added consideration indoors is managing moisture with a proper vapor barrier and ventilation.
Do I need blocking in the walls when framing a sauna?
Yes. Add blocking or make sure there's a stud wherever bench cleats, the heater, and any wall-mounted fixtures will attach. Benches carry real weight and must be screwed into framing, not just the interior paneling. Planning backing during framing is far easier than trying to find something solid to screw into afterward.
Frame It Once, Frame It Right
Framing a sauna room is mostly familiar carpentry with a handful of rules that specifically matter for heat: nail down your ceiling height first, frame a flat interior ceiling no matter what the roof does, plan your backing for benches and heater, and size your rough openings with room to seal. Get those right and the rest of the build has a solid, square starting point.
If you want to be sure the framing plan supports the sauna you're actually trying to build — the right ceiling height, bench positions, heater location, and vent placement all coordinated — that's what we do with remote sauna design. We'll hand you and your contractor a plan set that spells out the framing details so nobody's guessing on site. Start with our sauna design checklist and we can take it from there.